A slow leak in your car tire can be a real pain, leaving you stranded or worrying about a blowout. But before you panic and call a roadside assistance service, know that fixing a slow leak yourself is often a simple and achievable task. This article will guide you through the process, providing step-by-step instructions and helpful tips to get your tire back in shape.
This article will cover how to identify a slow tire leak, explore various DIY repair methods, discuss the use of tire sealant for temporary fixes, delve into patching a tire hole permanently, and emphasize the importance of inflating tires to the recommended pressure. By following these steps, you’ll be well-equipped to handle a slow tire leak with confidence.
Identifying a Slow Tire Leak
The first step in fixing any tire problem is identifying the source of the issue. A slow leak can be tricky to detect because it doesn’t happen immediately. You might notice your tire pressure dropping gradually over several days or weeks.
Here are some common signs of a slow tire leak:
- Low Tire Pressure: Regularly check your tire pressure using a reliable gauge. If you find that your tire pressure is consistently lower than the recommended level, it could indicate a slow leak.
- Visible Damage: Inspect your tires carefully for any visible damage, such as cuts, punctures, or embedded objects. These can be obvious signs of a leak.
- Slippery Feeling: While driving, pay attention to how your car handles. A slow leak can cause a slight vibration or a slippery feeling when turning, especially at higher speeds.
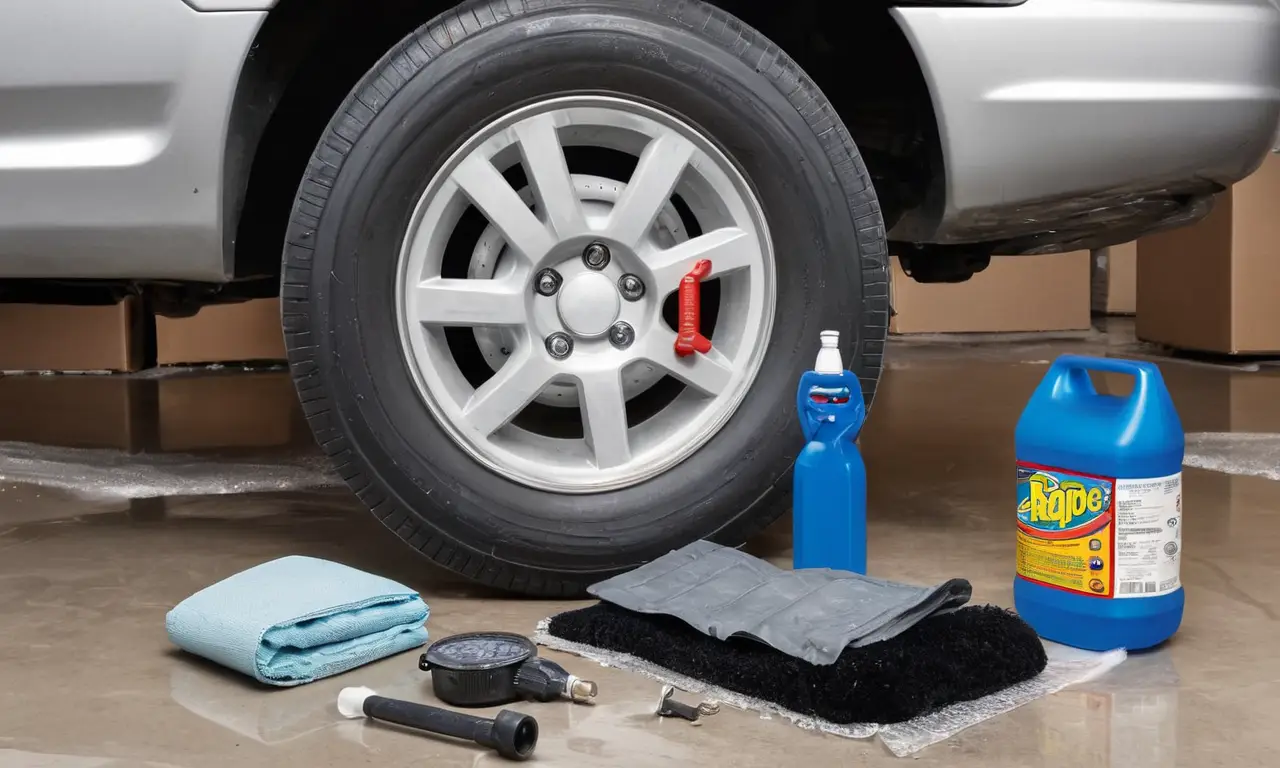
To pinpoint the exact location of the leak, you can use soapy water:
- Mix a solution of warm water and dish soap in a spray bottle.
- Spray the solution liberally on the tire’s surface, paying attention to the tread, sidewalls, and valve stem.
- Look for bubbles forming as the soapy water comes into contact with the leak. The location of the bubbles will indicate where the air is escaping.
DIY Tire Repair Methods
Once you’ve identified the source of the leak, you can choose from several DIY repair methods to fix it.
Temporary Fixes:
- Tire Sealant: This liquid sealant can be injected into the tire through the valve stem. It works by sealing small punctures and cracks, temporarily stopping the leak. Tire sealant is a convenient option for quick fixes, but it’s not a permanent solution and should only be used as a temporary measure until you can get your tire properly repaired.
Permanent Fixes:
- Patch Kit: A patch kit contains everything you need to permanently repair a slow leak in your tire. It typically includes patches, adhesive, sandpaper, and instructions. To use a patch kit:
- Clean the area around the puncture with rubbing alcohol or soapy water.
- Sand the surface of the tire slightly to create a rough surface for the patch to adhere to.
- Apply the adhesive to the back of the patch and press it firmly onto the tire.
- Allow the adhesive to dry completely before inflating the tire.
Using Tire Sealant for Temporary Fixes
Tire sealant is a convenient option for temporarily fixing small punctures or slow leaks in your tires. It’s available in aerosol cans or bottles that can be injected into the tire through the valve stem.
Here’s how to use tire sealant:
- Check Your Tire Pressure: Before using tire sealant, ensure your tire pressure is at the recommended level.
- Shake Well: Shake the sealant container thoroughly before use.
- Insert Valve Stem Tool: Attach the valve stem tool provided with the sealant to the tire’s valve stem.
- Inject Sealant: Slowly inject the sealant into the tire, following the instructions on the product label.
- Inflate Tire: After injecting the sealant, inflate your tire to the recommended pressure.
Remember that tire sealant is a temporary fix and should not be used for large punctures or severe damage. It’s essential to get your tire professionally repaired as soon as possible after using sealant.
Patching a Tire Hole Permanently
Patching a tire hole permanently involves using a patch kit to seal the puncture from the inside of the tire. This method provides a more durable and reliable repair than using tire sealant.
Here’s how to patch a tire hole:
- Locate the Leak: Use soapy water or a tire pressure gauge to pinpoint the exact location of the leak.
- Remove Valve Core: Unscrew the valve core from the tire’s valve stem. This will allow you to deflate the tire completely.
- Deflate Tire: Deflate the tire completely by pressing down on the valve stem.
- Clean and Sand: Clean the area around the puncture with rubbing alcohol or soapy water. Then, use sandpaper to roughen the surface slightly, creating a better bond for the patch.
- Apply Adhesive: Apply a thin layer of adhesive to the back of the patch.
- Press Patch Firmly: Press the patch firmly onto the tire, ensuring it covers the entire hole.
- Allow Adhesive to Dry: Allow the adhesive to dry completely according to the instructions on the patch kit.
- Reinstall Valve Core: Reinstall the valve core and inflate the tire to the recommended pressure.
Inflating Tires to Recommended Pressure
Maintaining the correct tire pressure is crucial for safe and efficient driving. Underinflated tires can lead to increased fuel consumption, reduced handling, and a higher risk of blowouts. Overinflated tires can cause a harsher ride and increase the risk of damage to the tire sidewalls.
To ensure your tires are properly inflated:
- Check Your Owner’s Manual: Consult your vehicle’s owner’s manual for the recommended tire pressure. This information is usually listed on a sticker located inside the driver’s side door jamb or in the glove compartment.
- Use a Reliable Gauge: Invest in a quality tire pressure gauge to ensure accurate readings. Digital gauges are generally more precise than analog gauges.
- Check Pressure When Tires Are Cold: Inflate your tires when they are cold, meaning they haven’t been driven for at least three hours. This will give you the most accurate reading.
- Adjust Pressure as Needed: If your tire pressure is low, add air until it reaches the recommended level. If it’s too high, release some air through the valve stem.
Conclusion
Fixing a slow leak in your car tire doesn’t have to be a daunting task. By following these simple steps and using the right tools, you can often repair the issue yourself and avoid costly trips to a mechanic. Remember to always prioritize safety, check your tire pressure regularly, and address any leaks promptly to ensure a smooth and enjoyable driving experience.